Fresh bar tape is the cheapest upgrade on your bike, usually $15 to $40, and the one job most riders pay a shop to do. Here is how to wrap it yourself in about 20 minutes.
Most cyclists never touch their bar tape until it is falling apart.
By then it is shiny, hard, and peeling at the hoods. The cushioning is long gone.
That worn strip is doing more damage than you think. It is the only thing between your palms and a vibrating aluminium or carbon bar.
Wrapping new tape looks intimidating the first time. It is not.
Get the direction right and pull it tight, and you will end up with a finish that looks like it came from a pro mechanic.
Why Worn Bar Tape Is A Real Problem
Bar tape is not decoration. It is your primary vibration interface with the road.
Every crack, seam, and chip seal sends buzz straight up through the bar into your hands.
Over long distances that buzz adds up. A prospective study of long-distance riders found that 23 of 25 cyclists developed motor or sensory symptoms in their hands after a single 600km ride, with 36% of hands showing motor symptoms. You can read the full study on PubMed.
That condition has a name. Riders call it handlebar palsy, and compressed, under-padded hands are how it starts.
Good tape will not cure poor bike fit. But it is your first and cheapest line of defence.
What You Need Before You Start
This is a short list. You almost certainly own most of it already.
One roll of bar tape (most come as a pair with finishing strips and bar-end plugs).
Scissors or a sharp utility knife.
Electrical tape in a colour close to your wrap, for the finish.
A clean rag and a little degreaser to strip old glue.
A repair stand helps, but it is optional. Leaning the bike against a wall with the front wheel pinned works fine.
Cork, Synthetic, Or Gel?
Cork tape is grippy and cheap, but wears faster.
Synthetic and polyurethane tapes last longer and shrug off rain.
Gel-backed or padded tape adds real cushioning if your hands go numb. That comfort comes at a small weight penalty, which almost nobody will ever notice
Top Rated
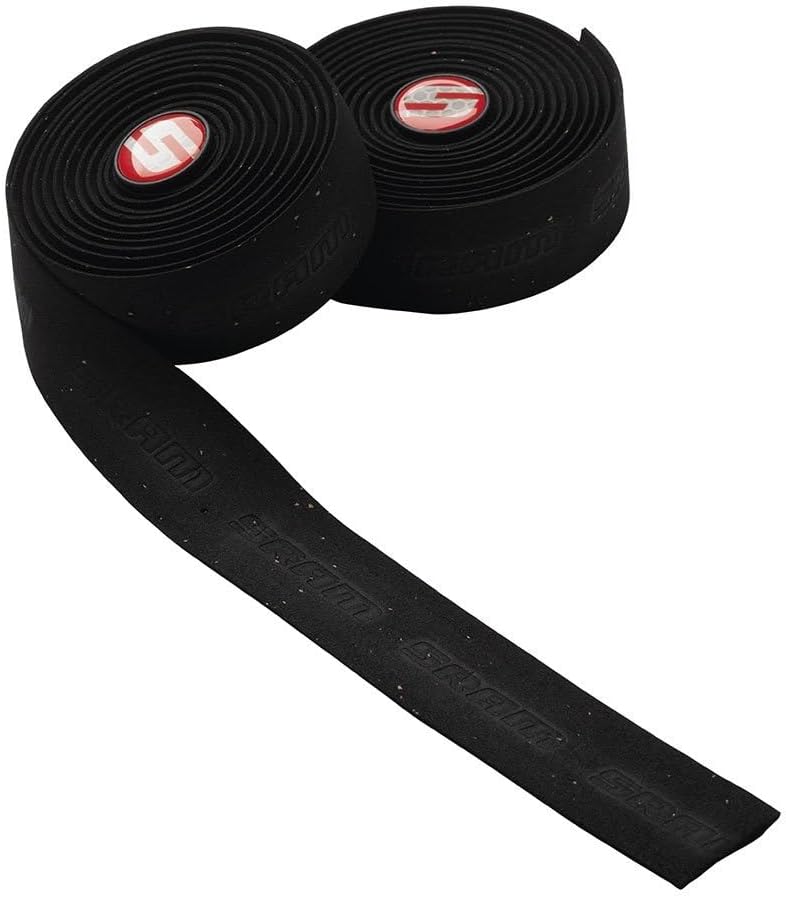
SRAM Supercork Bicycle Bar Tape
✓prime
★★★★★4,520 reviews
Premium cork, light, cozy, and robust all-purpose tape. SRAM logo etched onto the tape. Comes with 2 rolls. High-quality cork construction.
As an Amazon Associate, we earn from qualifying purchases.
The Step-By-Step Wrap
Here is the part everyone overthinks. Follow the order and it falls into place.
Step 1: Strip The Old Tape
Peel the old tape from the top down and pull out the bar-end plugs.
Wipe off every bit of old adhesive with degreaser. A clean bar is what makes new tape sit flat.
Step 2: Prep The Hoods
Roll the rubber hood covers forward to expose the brake lever clamp.
Stick the small backup strip across the back of each lever body. This covers the gap the main wrap cannot reach.
Step 3: Start At The Bar End
Begin at the bottom of the drop, not the top. Leave about ten centimetres of tape hanging past the end of the bar.
That overhang gets tucked into the tube later so the bar-end plug can trap it.
Step 4: Wrap In The Right Direction
This is the one rule that separates a clean wrap from a peeling mess.
Wrap outward on both sides. That means clockwise on the right bar and counterclockwise on the left bar, working from the end up toward the stem.
Wrapping outward stops your palms from peeling the edge loose every time you push on the hoods.
Step 5: Keep Tension And Overlap
Pull the tape firm as you go. The stretch is what gives you that gap-free, professional look.
Overlap each turn by about a third of the tape width. Never more than half, or you will run out before the bar is covered.
At the hoods, make a small figure-eight around the lever so no bare bar shows through.
Step 6: Finish It Clean
Stop a few centimetres short of the stem and cut the tape at an angle so it ends in a straight line.
Lock it down with two or three wraps of electrical tape, then push the leftover overhang into the bar and seat the end plug.
Roll the hoods back. Done.
Where A Fresh Wrap Falls Short
New tape is a fix for buzz and grip. It is not a fix for everything.
If your hands still go numb on long rides, the tape is treating a symptom, not the cause.
Numbness usually traces back to bar height, reach, or how much weight you carry through your wrists. Our guide on how to prevent numb hands while cycling walks through the fit changes that actually solve it.
Wrap the bars, yes. Then check the fit. One without the other only goes halfway.
Make It A Habit, Not A Panic
Most riders wait until the tape unravels mid-ride. Do not be that rider.
Re-wrap once a year if you ride often, or the moment the cushioning feels dead under your palms.
Bar tape is one of those quietly satisfying jobs you can learn in an afternoon. If you want more of them, our roundup of essential DIY bike repair and maintenance covers the other fixes worth owning.
Learn five of these and you stop paying the shop for things that take 20 minutes at home.
Final Thoughts
Bar tape is the cheapest contact point on your bike and the easiest one to ignore.
Wrap it outward, pull it tight, overlap by a third, and finish clean. That is the whole skill.
The first wrap might take you half an hour and look slightly wonky. The second will look like a shop did it.
Your hands carry you through every ride. Give them something better than ten-year-old cork to hold.