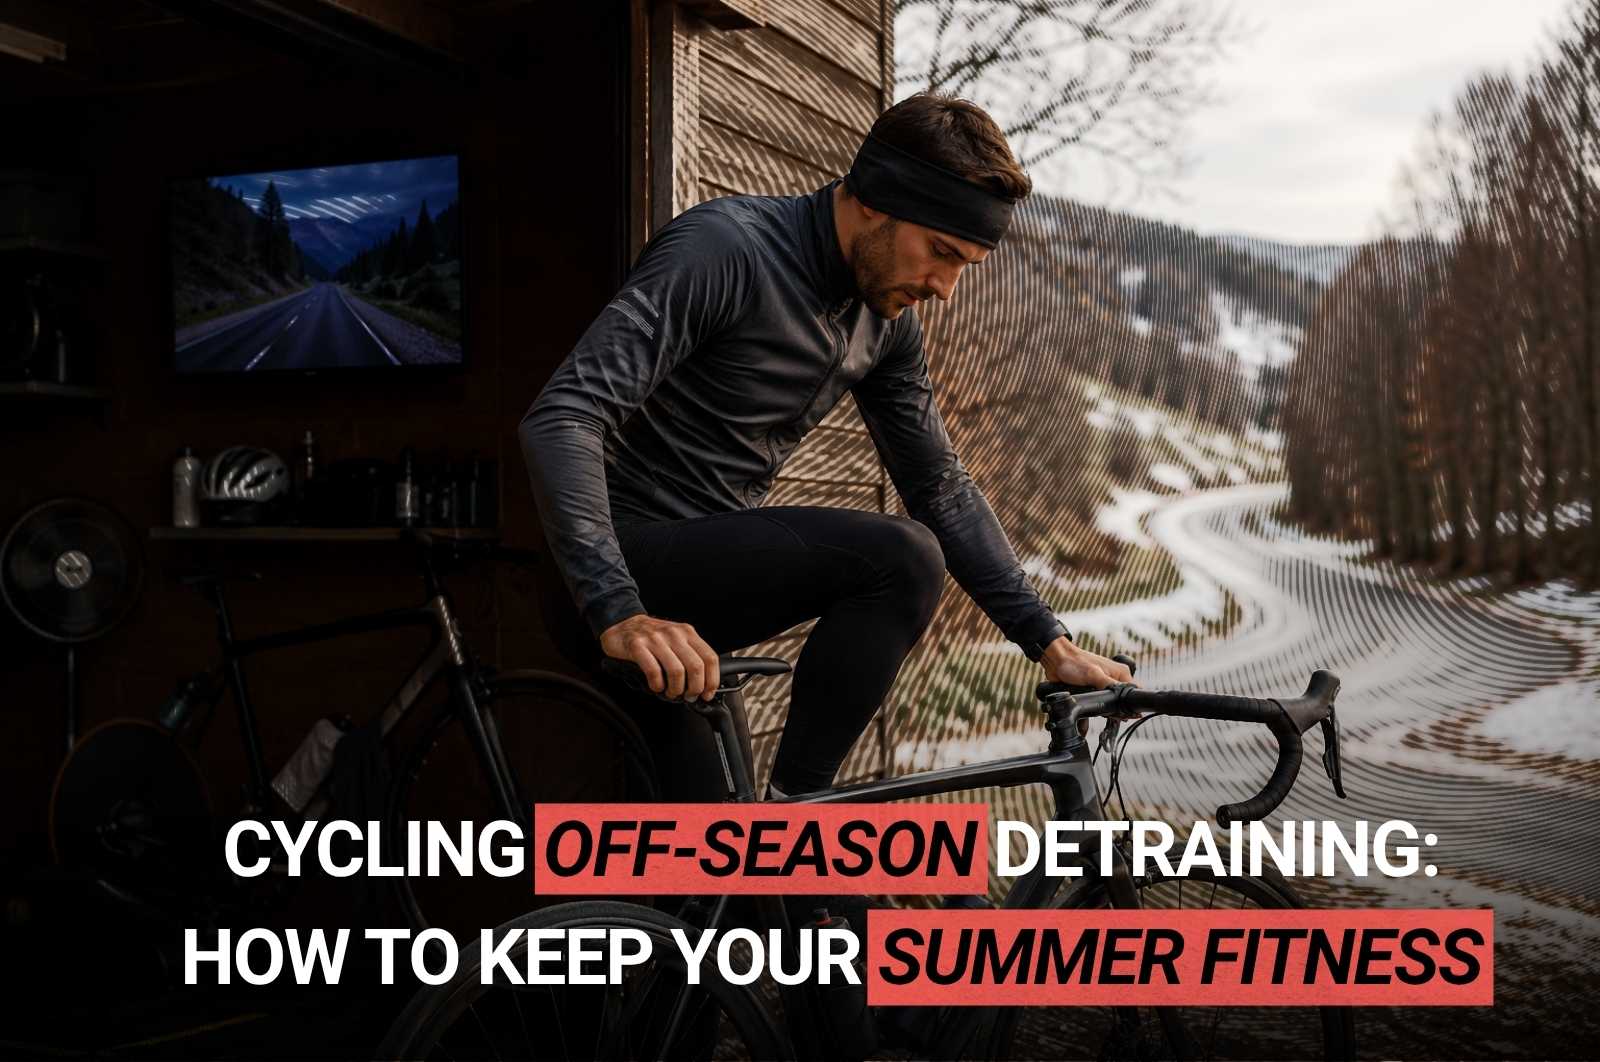
Most riders don't get faster by training harder. They get faster by fixing small things they didn't know were holding them back…
Here are the 10 mistakes that cost recreational cyclists the most, ranked by how much they drag down your riding, plus exactly how to fix each one. Some take five minutes. A couple take a few rides to unlearn. All of them work.
What's the single biggest mistake most cyclists make?
Saddle height. If you only fix one thing on this list, fix this. A saddle set wrong throws off everything downstream, your power, your comfort, your knees, even your hands. And here's the part that surprises people: most riders have it set too high, not too low.
Luke Craddock, a professional bike fitter at Synergy Performance, put it bluntly to road.cc. Seven out of ten times, he's lowering people's saddles rather than raising them.
A saddle that's too high causes a chain of problems, numb hands, numb feet, back pain, and saddle sores among them.
Why does too-high feel right? Because excessive height can initially feel more powerful, even though it makes your pedaling quad-dominant and leaves you unstable on the saddle.
The fix isn't about feel. It's about geometry.
How to set your saddle height
Use the heel-on-pedal method. It won't account for every variable a pro fitter would measure, but it gets you within range fast. Sit on the bike (lean against a wall or use a trainer), put your heel on the pedal, and pedal backward to the bottom of the stroke.
Your knee should be completely straight with your heel on the pedal. If it's still bent, raise the saddle. If your heel loses contact, lower it.
The logic: you pedal on the ball of your foot, not your heel. So a straight leg at the heel position means a slight knee bend when you're actually pedaling, which is exactly what you want.
That's roughly 25 to 30 degrees of knee flexion at the bottom of the stroke.
Make changes in small increments, a few millimeters at a time, and ride between adjustments. Making large adjustments too quickly is one of the most common errors. If you want this dialed in properly, the complete guide to finding and fitting the right bike for you walks through the full setup.
Why does grinding a hard gear actually slow you down?
Because it wrecks your legs and your knees for no speed benefit.
This is the mistake I see most on group rides: a rider muscling up a climb at 55 to 60 RPM, face red, legs screaming, convinced that pushing harder means going faster. It doesn't. It means burning out.
Research shows most untrained cyclists self-select 60 to 70 RPM, while trained cyclists naturally pedal at 80 to 95 RPM. The gap isn't fitness. It's gear selection.
Pushing a bigger gear at 65 RPM feels easier in the moment than spinning fast, which is exactly why beginners drift toward it, but staying there leads to knee pain and premature muscle fatigue.
Cadence is just how fast you pedal, measured in revolutions per minute.
Power comes from torque times cadence, which means you can hit the same speed by grinding hard (high torque) or spinning easy (high cadence). Spinning saves your muscles.
Grinding shreds them.
How to fix your cadence
For flat-road endurance riding, aim for 80 to 90 RPM. On climbs, accept a lower number, somewhere in the 60 to 80 range is normal, and shift to an easier gear before the hill gets steep, not after you're already bogged down.
A warning if you want to practice low-cadence strength work: build into it.
Starting straight away at 40 to 50 RPM can cause pain at the front of the knee, so begin around 70 RPM and work down only as your legs adapt.
Watch for these tells that your cadence is off: knee discomfort on climbs (grinding too hard a gear) and refusing to shift even when the terrain changes.
If either sounds familiar, that's your signal.
What happens if you don't fuel properly on a long ride?
You bonk. And bonking isn't a willpower problem, it's a fuel problem.
It's the sudden state of extreme fatigue where your legs feel heavy, your energy drops off a cliff, and pedaling becomes nearly impossible.
Here's the physiology that explains it. Your body stores roughly 400 to 500 grams of glycogen in your muscles and another 80 to 100 grams in your liver.
That's enough for about 90 minutes of moderate cycling. After that, without external fuel, you bonk: that wall of fatigue where your legs turn to concrete and your brain shuts down.
Once glycogen runs out, your body switches to burning fat, which can't deliver energy fast enough to hold your pace.
How to avoid bonking
Start fueled, eat early, eat often. Top off your glycogen stores with 200 to 300 calories 30 to 60 minutes before you ride, something easy on your stomach like toast with nut butter, a banana with yogurt, or oatmeal.
Begin eating within the first 30 to 45 minutes of your ride and keep it consistent, aiming for 30 to 90 grams of carbohydrate per hour depending on the effort.
The trick is fueling before you feel hungry.
By the time you feel empty, you're already behind. One practical note: your gut can absorb about 60 grams of glucose plus 30 grams of fructose per hour, which is why high-carb fueling uses a roughly 2:1 glucose-to-fructose mix to hit 90 grams without stomach trouble.
A lot of newer riders are, and it's one of the few mistakes on this list that can actually put you on the ground. Two problems show up: braking too hard, and not knowing which brake does what.
Grab a fistful of front brake suddenly and your weight pitches forward.
At best you skid. At worst you go over the bars. The other failure is the opposite, riders so nervous they feather the brakes constantly, which kills momentum and makes them unpredictable to anyone riding behind.
How to brake properly
Be smooth, not abrupt. Brake before corners, not in them, and ease off as you lean. For anything but an emergency stop, progressive pressure beats grabbing.
Know your brakes. Most bikes follow “right for rear, left for front,” but this gets swapped in some regions, so test yours in a safe spot before you trust it. The rear brake scrubs speed in normal riding.
The front brake has most of your stopping power, which is why you use it deliberately, not in a panic.
For a hard stop, shift your weight back, push your hips behind the saddle, and apply both brakes with the front doing more of the work.
That backward shift counters the forward momentum that would otherwise lift your rear wheel or send you flying.
Why is riding without a pre-ride check a mistake?
Because a 60-second check saves you from a ruined ride.
Skipping it is the gamble most of us make to save time, and it works right up until the moment it doesn't, a flat with no pump, a chain so dry it's grinding through your drivetrain, a brake pad worn past the line.
A dry, noisy chain isn't just annoying. It means you're wasting energy on friction and accelerating wear on parts that cost real money to replace.
How to fix this
Run the ABC check before every ride.
Air: squeeze both tires, top them up to the pressure printed on the sidewall. Brakes: pull both levers, confirm they engage firmly and the pads aren't worn through.
Chain: glance for rust, listen for dryness, lube it if it's been a while.
The whole thing takes a minute. If you find a problem, spend the extra five to fifteen minutes fixing it at home rather than discovering it ten miles out.
Should you really wear a helmet even where it's not required?
Yes. This is non-negotiable, and the law isn't the standard to measure against. Plenty of places don't mandate helmets for cyclists, so skipping one is legally fine. It's just a bad bet.
Your head doesn't care what the local rules say when it hits pavement.
The comparison that lands for most people: motorcyclists wear helmets without argument, and a bicycle crash puts your head at the same risk. Logic says protect it every time you ride.
How to fix this
Get a helmet, and get one that actually fits. A helmet sliding around on your head or perched on the back of your skull won't do its job in a crash. Fit matters as much as owning one.
When you're choosing, weigh the safety standard certification, ventilation, weight, and the retention system that locks it to your head.
Why do your hands go numb, and is it a fit problem?
Usually, yes. Numb hands are one of the clearest signs your position or your saddle height is off, not a quirk you have to live with.
A saddle set too high is a documented cause of numb hands, because it shifts your weight forward onto your palms.
The actual mechanism is a compressed nerve. When too much of your body weight presses through your hands, you pinch the nerves running through your wrist, and the tingling starts.
Many of the most common types of cycling pain are linked to incorrect saddle height, and hand numbness is high on that list.
How to fix it
Start with saddle height and tilt, since a saddle nosed down tips you forward onto your hands.
Then check your reach, many beginners overstretch toward the bars because they're copying the low, aggressive positions of pros.
Most new riders are better off with a more relaxed setup that reduces strain and builds confidence.
On the bike, change hand positions often, wear padded gloves, and keep a slight bend in your elbows so your arms absorb road buzz instead of your wrists.
If numbness persists after fit changes, a professional fitter can pinpoint it.
If you blow up halfway through every ride, probably.
This is the pacing mistake, and it bites experienced riders as often as beginners. You feel fresh, the weather's perfect, so you hammer from the start, surge to the front, enjoy the speed.
Then your legs go hollow, your pace craters, and the riders you dropped come cruising back past you.
The cause is two-fold: no warm-up, and letting excitement set the pace instead of strategy.
our body needs time to ramp up. Redline it cold and you're spending energy you can't get back.
How to fix it
Warm up first, then build. Start easy and hold a steady, comfortable effort until your body's online, then lift the pace.
Track cyclists do this in Keirin races, riders sit behind a pacer at an easy speed before sprinting the final laps. Same principle on a group ride or a solo effort: ration the hard work for when it counts.
Don't skip the general warm-up either.
Five to ten minutes of light spinning and some dynamic stretching gets blood into your legs and lowers your injury risk.
Treating the first few miles of the ride as your only warm-up is how you end up with tight, sore muscles the next morning.
Why does what you wear matter more than you think?
Because the wrong clothing turns a good ride miserable, and on cold or wet days it becomes a safety issue. Overdress and you're drenched in sweat.
Underdress in the cold and you're shivering despite the effort, which saps energy and focus. Caught in rain with no jacket and you're either soaked or stranded.
How to fix it
Dress for the weather, and check the forecast before you go. You don't need a closet of pro kit. For warm rides, a jersey or T-shirt does the job. For cold ones, layer up, layers trap heat and let you shed pieces as you warm.
Overdressing for mild weather is one of the most common beginner mistakes, so when you're unsure, lean slightly warm since you can always remove a layer mid-ride.
If rain's likely, you've got options: pack a packable rain jacket, swap to an indoor session, or push the ride. The point is deciding on purpose instead of getting surprised on the road.
Are you skipping sunscreen and warm-ups?
Both, probably, and they're the two most forgotten items on this list because neither has an immediate consequence. That's exactly why they get skipped.
Sunscreen feels optional until you've got a brutal tan line and, far worse, years of cumulative UV exposure raising your skin cancer risk.
Cyclists spend hours under direct sun, often on the same patches of skin every ride.
The warm-up gets skipped because riders assume the ride itself counts, then wonder why their legs feel tight and sore.
How to fix both
For sun: apply broad-spectrum sunscreen to every exposed area before you head out, the same way you would at the beach, and reapply on long rides.
It won't fully erase a tan line, but it protects the skin that matters.
For warming up: spend five to ten minutes on dynamic stretching and easy spinning before you push.
It improves blood flow and muscle readiness, and it's the difference between legs that respond and legs that fight you.
The symptoms give it away. Signs of a bad fit include numb feet, knee pain, back stiffness, or excessive fatigue on short rides.
Excessive saddle height alone can cause numb hands, numb feet, back pain, and saddle sores.
If you're getting any of these, start with saddle height, then reach, then cleat position if you ride clipless.
A professional fitter is worth it if problems persist after DIY adjustments.
What cadence should a beginner aim for?
Build toward 80 RPM on flat ground. Most beginners gravitate to the lower end because it feels more stable, but spending too long there leads to knee pain and muscle fatigue, so aim to gradually increase toward 80 RPM.
On climbs, a lower cadence is normal and fine. Don't force 90 RPM up a steep hill, match your gearing to the gradient instead.
How long can I ride before I need to eat?
Around 90 minutes. Your glycogen stores hold enough fuel for about 90 minutes of moderate cycling, so rides under an hour generally don't need on-bike fuel. Past that, start eating early.
For rides of 90 minutes to 3 hours, aim for 30 to 60 grams of carbohydrate per hour, and don't wait until you feel hungry to start.
Which brake should I use to stop?
Both, with the front doing more of the work. The front brake provides most of your stopping power, while the rear scrubs speed in normal riding.
For hard stops, apply both, shift your weight back behind the saddle, and avoid grabbing the front brake on its own, that's what sends riders over the bars.
Always confirm which lever controls which brake on your specific bike, since the setup varies by region.
Do I really need a helmet if my country doesn't require one?
Yes. Legal requirements are a minimum, not a safety standard. A bicycle crash exposes your head to the same impact risk that makes helmets mandatory for motorcyclists in most places.
Wear one that fits properly every ride, regardless of the law where you live.
The bottom line
None of these 10 mistakes require more talent or more training to fix.
They require attention. Drop your saddle to the right height, spin instead of grind, eat before you're empty, and brake like you mean it. Do the 60-second check. Wear the helmet. Pace yourself.
Fix two or three of these and you'll feel the difference on your next ride. Fix all 10 and you'll wonder how you rode any other way.


.webp)