The tire holds air, sure. It also loses 2 to 4 watts, seals slowly, and can eject explosively on a hot descent. Here is the honest fix list.
Tubeless was supposed to be the end of the flat tire era.
Fewer punctures. Lower rolling resistance. Better traction. More comfort at lower pressures.
All of that is real when the setup is done right.
The problem is that most tubeless setups are quietly broken.
The tires hold air. The wheels spin. Riders assume it's working.
Meanwhile, they are losing 2 to 4 watts per wheel to slow leaks, running the wrong pressure on hookless rims, and one hot descent away from a genuine safety problem.
Here are the seven mistakes cyclists make most often, ranked by how much they actually cost you.
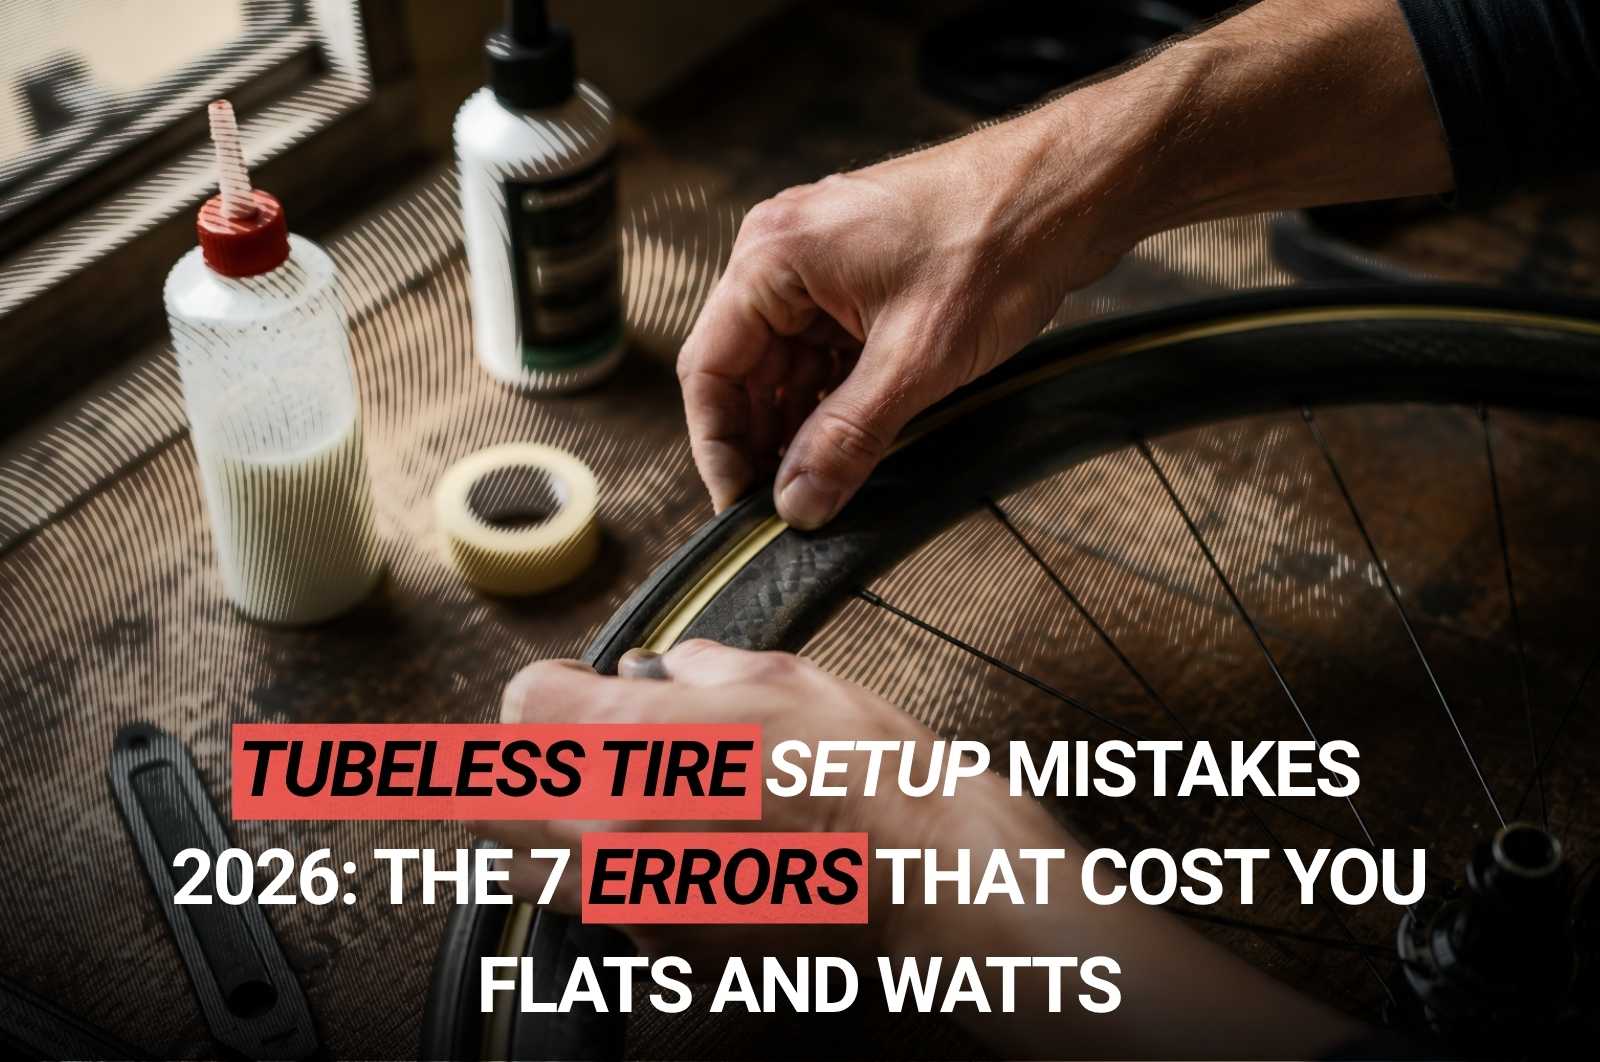
Mistake 1: Skimping on Rim Tape
This is the single most common failure. Rim tape is not where you save money.
Cheap or wrong-width tape causes slow air leaks that riders spend months chasing without ever fixing the cause.
Sealant then gets used up trying to plug leaks that are not actually punctures.
The rule: tape should be at least as wide as the rim's internal width, and ideally 1 to 5 millimetres wider.
It needs to sit flat against the rim bed with no bubbles, wrinkles, or spoke-hole shadows.
Real tubeless-specific tape from Stan's, DT Swiss, Silca, or Muc-Off. Not generic PVC. Not electrical tape. Not the strip your last wheelset came with three years ago.
Mistake 2: Wrong Sealant Volume
There is a specific volume for a specific tire size. Guessing is why sealant ends up puddled in the rear tire like a milkshake, unable to reach the sidewalls.
The industry-standard baseline volumes:
30 millilitres for road tubeless (28 to 32 mm tires).
60 millilitres for gravel (35 to 45 mm tires).
90 to 120 millilitres for mountain bike setups depending on tire volume.
John Vargus, founder of Orange Seal, told Cycling Weekly that the other detail most riders miss is agitating the sealant bottle before pouring. If you pour without shaking, the particulate that actually plugs holes settles at the bottom and never makes it into the tire.
The Pouring Position Trick
Cyclists Hub's testing found the cleanest sealant install uses the 3 o'clock or 9 o'clock valve position, not 12 or 6.
At 12, sealant runs out the valve as you pour. At 6, it puddles right below the opening. At 3 or 9, gravity pulls it down and away from the valve so the tire seats without a mess.
This is one of those small pro-mechanic details that saves a shop 20 minutes per install.
Mistake 3: Running Over-Pressure on Hookless Rims
This one is the actual safety issue.
Many modern road wheels (Zipp, ENVE, Roval, Reserve, Bontrager Aeolus) use hookless rim profiles, which are lighter and cheaper to manufacture than traditional hooked rims.
Per the ETRTO 2026 standard, hookless rims have a maximum tire pressure of 73 PSI (5 bar).
Exceeding that limit risks explosive tire ejection, where the tire beads pop off the rim under pressure.
This has happened at speed on descents. It is not theoretical.
Riders coming from tubed setups are used to running 90 to 100 PSI on the road.
On a hookless rim, that is a genuine hazard.
Check the rim sidewall or manufacturer spec sheet before inflating. If your wheels are hookless, you should be running 60 to 70 PSI for most modern 28 to 32 mm road tires. That is the correct pressure anyway. Just a lot of riders do not know it.
Sealant dries out. All of it. It is a latex or synthetic latex suspension and it evaporates through the tire casing over time.
The general schedule per Cycling Weekly and manufacturer guidance:
Every 2 to 3 months in temperate climates.
Every 4 to 6 weeks in hot, dry climates or storage conditions above 25°C.
Every 6 months with premium longer-lasting formulas like Orange Seal Endurance or WTB.
A dried-out sealant does not plug punctures. Riders who assume tubeless means "install and forget" are riding on what is functionally an inner tube with slow air loss and none of the puncture protection.
A 30-second shake test before big rides tells you what is happening inside. If you hear liquid, sealant is present. If you hear nothing, you have a bottle to open.
Mistake 5: Loose or Damaged Valve Cores
A loose valve core is a slow leak that will never stop bleeding air.
The rule: hand-tight plus a quarter turn with a valve core tool. Not overtight (which can strip threads). Not finger-loose.
Similarly, if you have not cleaned dried sealant out of the valve core in six months, it may be partially blocked. That prevents proper inflation and can mask leaks elsewhere.
Rebuild your valves every year. New rubber seals, new cores. It is a $10 fix.
Mistake 6: Ignoring the Rim Bead Interface
This is where most "sudden leaks" come from and where most riders never look.
The rim bead seat, where the tire locks against the rim, needs to be clean of dried sealant and debris. If you have swapped tires two or three times without cleaning it, there is a rim of gunky rubber build-up down there.
Cleaning it takes 90 seconds with a rag, some soapy water, and mild patience. Skipping it is why some tubeless tires never seat properly.
It is also worth inspecting the rim itself for hairline cracks, especially after a hard descent or a curb strike. Carbon rims can develop micro-fractures that create pinhole leaks nobody would ever pin on the rim.
Mistake 7: Using the Wrong Sealant for the Weather
Standard latex-based sealants (Stan's, Orange Seal Regular) thicken and lose effectiveness below 0°C / 32°F. That is a real problem for winter riders.
For sub-zero riding, use a freeze-resistant formula like Muc-Off No Puncture Hassle, which is specifically engineered not to congeal in cold.
For long-distance and bikepacking, Orange Seal Endurance stays liquid longer between top-ups.
For hot climates and desert riding, budget for more frequent top-ups regardless of brand. The heat is against you either way.
Sealant is a category with real product differentiation. The wrong choice does not fail dramatically. It just quietly reduces the protection you thought you were paying for.
A properly set up tubeless system takes about 45 minutes the first time and 15 minutes for every install after. It is not complex work. It just rewards precision.
Do these things once, correctly:
Use tubeless-ready rim tape at the correct width.
Pour the right sealant volume, agitated properly, at the 3 or 9 o'clock valve position.
Verify the pressure limit for your rim profile before inflating.
Top up sealant on a calendar reminder, not when you notice a problem.
The riders who love tubeless are the ones who set it up right. The ones who hate it are the ones fighting bad tape jobs, dry sealant, or hookless-rim over-pressure without knowing that is what they are actually fighting.
Nothing on this list is expensive. The whole batch of fixes probably costs $40, and 45 minutes of care.
That is the difference between a tubeless system that quietly protects you for 3,000 miles and one that leaks a slow watt every ride for a year.
Do the boring things once. Get the flats-free season you were promised.
.webp)