
How Tour De France Riders Actually Pee At 45 KM/H: The Peloton's Dirtiest Open Secret
Riders drink up to 12 bottles of fluid per stage, race for over five hours, and never truly stop.
Discover why that common household spray is actually accelerating wear on your drivetrain and what you should be using instead to save hundreds on repairs.
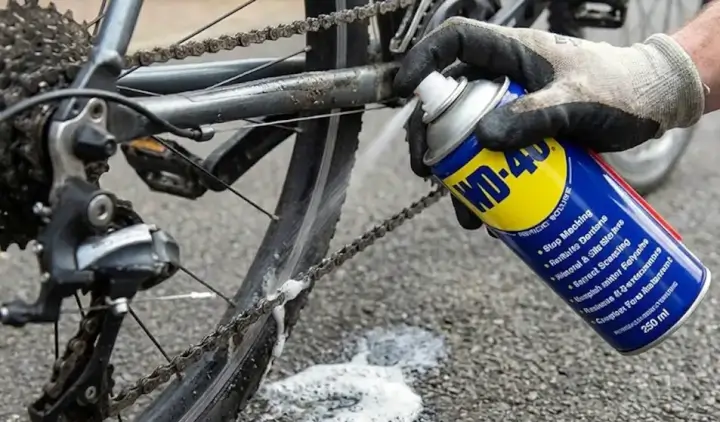
It happens to everyone.You are about to head out for a ride and you hear that annoying squeak coming from your chain.
You rush to the garage, grab that familiar blue and yellow can, and give the chain a heavy spray.Like magic, the squeak is gone.
The chain looks shiny.You feel like a mechanic.But here is the uncomfortable truth: You just shortened the life of your drivetrain by half.
While you are celebrating the silence, your local bike mechanic is quietly preparing an invoice for a new chain and cassette.
The biggest myth in cycling is that standard WD-40 is a lubricant.It is not.
The name stands for "Water Displacement, 40th formula."It is incredibly effective at loosening rusted bolts and driving out moisture because it is primarily a solvent.
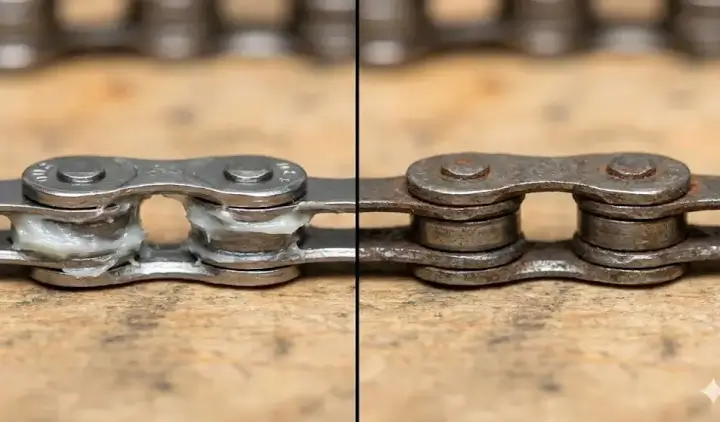
A bicycle chain comes from the factory packed with heavy, high-quality grease deep inside the rollers where it is needed most.
When you spray a solvent onto the chain, it acts like a cleaning agent.It penetrates the links, dissolves that crucial factory grease, and washes it away.
You are not lubricating your chain.
You are stripping it dry.The metal rollers inside the chain are now rubbing directly against the pins with zero protection.
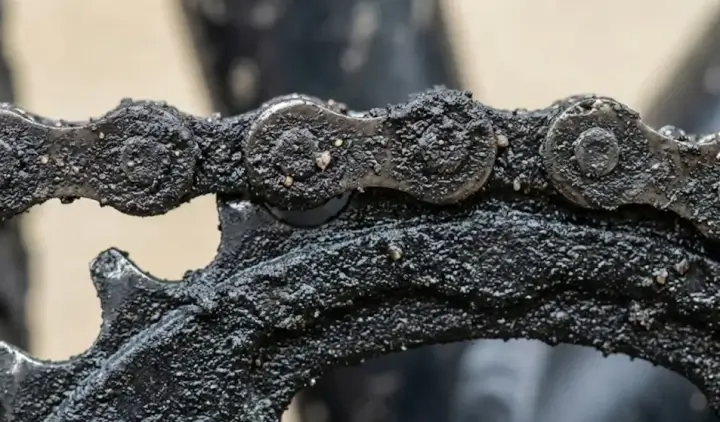
The initial silence is misleading.Once the volatile parts of the spray evaporate, they leave behind a thin, sticky residue.As you ride, this sticky film acts like a magnet for road dust, dirt, and fine grit.
This mixture turns into an abrasive grinding paste.Every time you pedal, that gritty paste eats away at the metal of your chain links and the teeth of your expensive gears.
What feels like a cheap fix is actually an accelerated wear process that turns a $30 chain replacement into a $150 drivetrain overhaul.
Your bike needs a specific lubricant designed for the conditions you ride in.If you ride in dry, dusty conditions, you need a "Dry Lube" based on wax or Teflon.
It goes on wet to penetrate the rollers, but it dries completely so dust does not stick to it.
If you ride in rain or mud, you need a "Wet Lube." This is a heavier oil that resists washing off in water, though it does require more frequent cleaning.
Neither of these options costs much more than that can of household spray, but they will save you a fortune in parts.
If you are reading this and realizing you just sprayed your bike with the wrong thing, do not panic.
You can fix it.
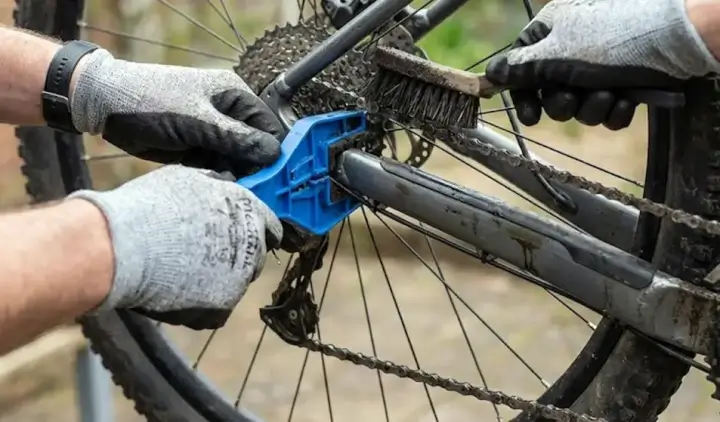
You need to thoroughly degrease the chain to remove the sticky residue.Use a dedicated bike degreaser and a stiff brush.Rinse it with water and dry it completely with a rag. Once it is bone dry, apply the proper bicycle chain lube, one drop per link.
Wipe off the excess.
Bike maintenance is full of these little myths that cost you money.Using the wrong chemical, tightening a bolt too much, or ignoring a noise can lead to massive repair bills.
You do not need to be an engineer to fix your bike, but you do need the right information.
I finally stopped relying on guesswork and internet forums and used the DIYBikeRepair course. It features over 200 step-by-step videos from master mechanic Dave Delgado.
He explains exactly which lubricants to use, how to clean your chain without ruining it, and how to make your drivetrain last for thousands of miles.
Put the blue and yellow can back on the shelf for squeaky door hinges.Give your bike the care it actually needs.i
If you are interested, we wrote a review about DIYBikeRepair course here.
Perfect for the new riders!
No spam. Cancel anytime.


