
How Tour De France Riders Actually Pee At 45 KM/H: The Peloton's Dirtiest Open Secret
Riders drink up to 12 bottles of fluid per stage, race for over five hours, and never truly stop.
In this comprehensive guide, we walk you through the exact steps to replace a bicycle chain like a pro, ensuring smooth shifting and saving you money on expensive repairs.
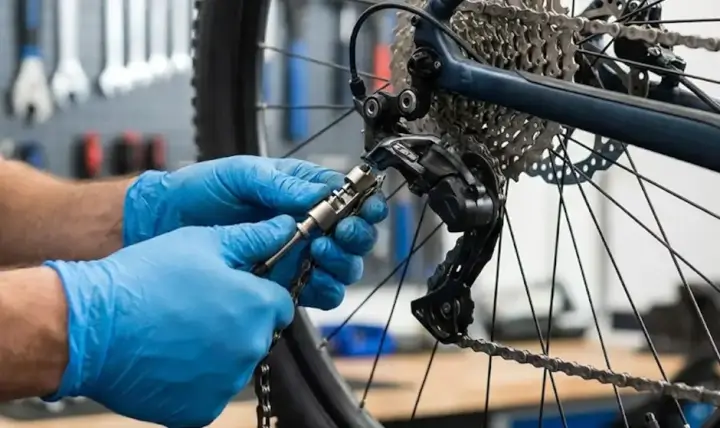
The bicycle chain is arguably the most hardworking component on your bike.
It transfers every watt of power from your legs to the wheels, enduring grit, grime, and immense tension.
Yet, it is often the most overlooked part of maintenance until it starts skipping or snaps mid-ride.
As a bike expert, I cannot stress this enough: changing your chain on time is the single most cost-effective maintenance task you can perform.
A worn chain acts like a file, grinding down the teeth on your expensive cassette and chainrings.
Replace the chain early, and your drivetrain can last for years. Wait too long, and you will be footing a bill three times the size.
In this guide, I will walk you through the professional process of replacing a chain. We will cover sizing, directional installation, and the critical checks that prevent mechanical failure.
Chains do not actually "stretch" in the way elastic does. Instead, the metal pins and bushings inside the links wear down, creating more space between them.
This increases the chain's overall length. As the pitch of the chain increases, it no longer sits perfectly in the valleys of your gear teeth.
It begins to ride higher, wearing the teeth into a hook shape.
If you catch this wear early (usually before 0.75% elongation), you can simply swap the chain.
If you wait until the chain is 1% worn, chances are you will need to replace the cassette as well because a new chain will not mesh with the worn teeth of the old cassette.
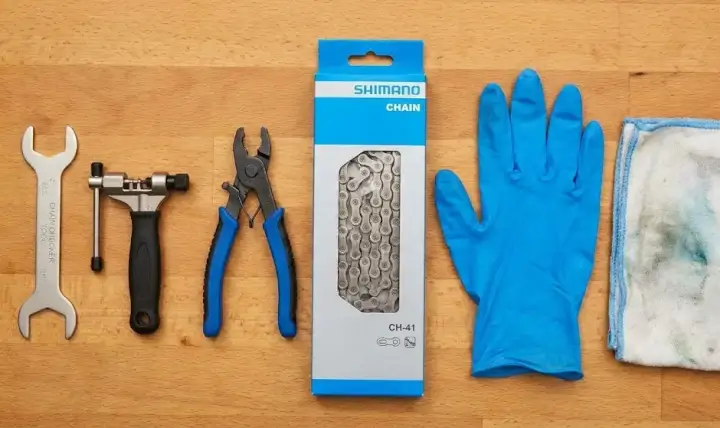
Before we begin, ensure you have the correct tools. Using improvised tools often leads to stiff links or damaged plates.
If you need to buy your first kit to replace the chain, we reccommed this kit available on Amazon, with less than $15 you got everything you need to replace the chain of your bike
Never replace a chain based on guesswork or mileage alone. Mileage varies wildly based on riding conditions.
A mountain biker riding in mud might kill a chain in 500 miles, while a road cyclist in dry conditions might get 3,000 miles.
Insert your chain checker tool into the links. Most tools have two sides: 0.5% and 0.75%.
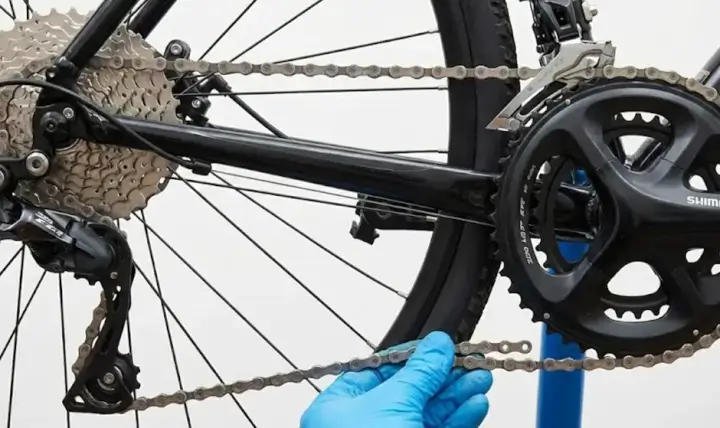
Shift your gears so the chain is on the smallest cog in the rear and the small chainring in the front.
This takes the maximum amount of tension off the derailleur, making it easier to manipulate the chain.
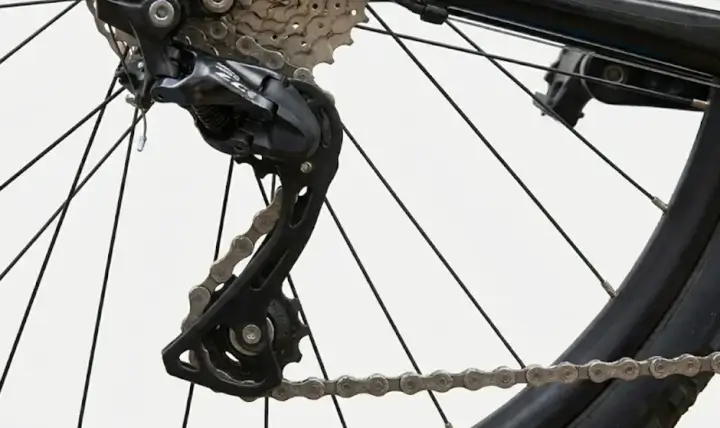
Pro Tip: Take a photo of how the chain routes through the rear derailleur before you remove it.
The path through the jockey wheels can be confusing for beginners, and routing it incorrectly is a common mistake.

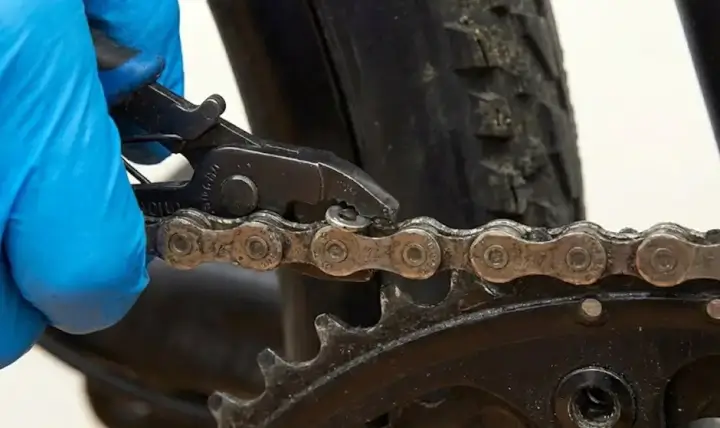
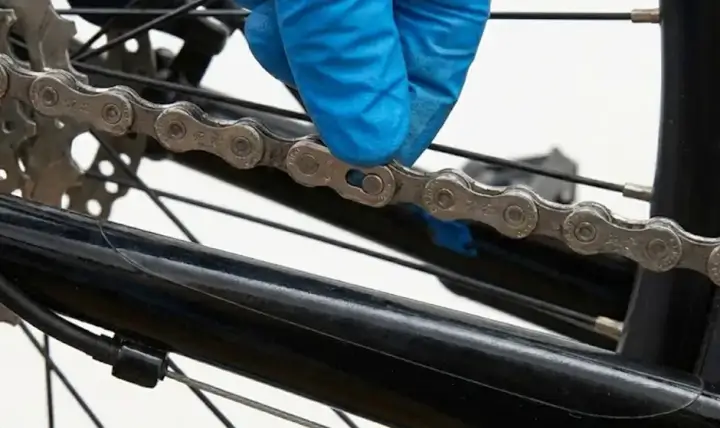
Locate the "Master Link" or "Quick Link" if your chain has one. This looks like a slightly different link with a slotted pin hole.
Use your master link pliers to squeeze the rollers of this link together, popping it open.
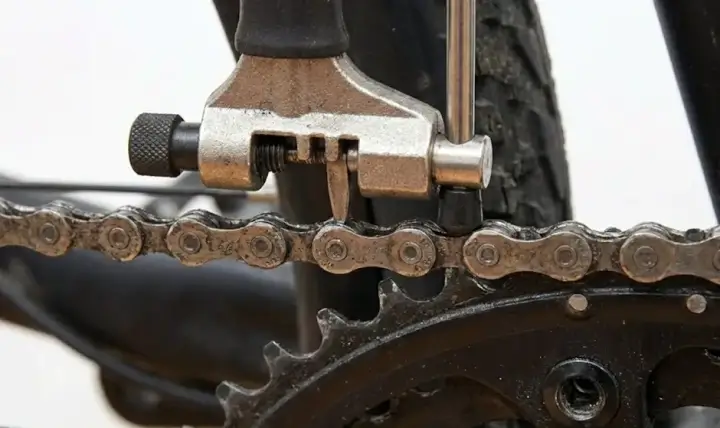
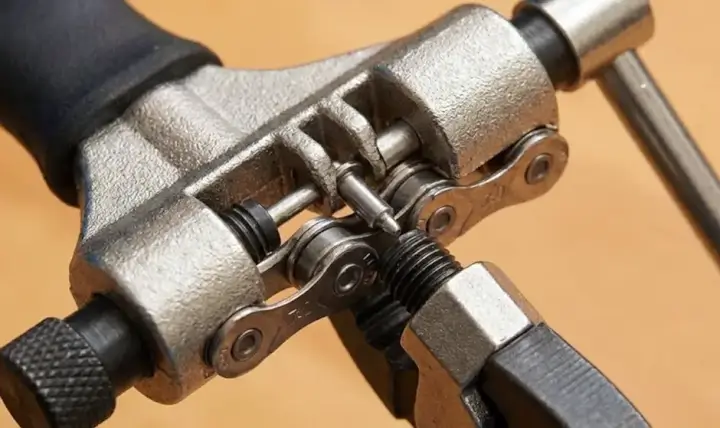
If your chain does not have a master link (common on older Shimano chains), use your chain breaker tool.
Line up the pin of the tool with a pin on the chain, turn the handle, and push the pin all the way out.
Once the chain is broken, carefully pull it out of the derailleur and remove it from the bike.
Do not put a clean chain on a dirty drivetrain.
It defeats the purpose instantly. With the chain off, you have excellent access to the derailleur jockey wheels and the chainrings.
Take a rag with degreaser and wipe the grime off the jockey wheels. You will likely find a thick buildup of "chain sludge" on the sides of the pulley wheels.
Scrape this off.
Floss a rag between the cogs of your cassette to remove built-up dirt.
This is the most critical step. New chains always come too long. You must cut them to the correct length for your specific bike frame and gear combination. There are two main methods to do this.
Method A: The Old Chain Comparison
If you are sure your old chain was the correct length, lay the old chain and new chain out on a flat surface next to each other. Match the links link-for-link.
Account for the quick link! If the new chain uses a quick link, cut the new chain so that it has inner links at both ends, matching the length of the old chain minus the quick link.
Method B: The Big-Big Method (Recommended)
This is the most accurate method, especially if you are unsure about the previous sizing.
Important Note for SRAM 12-Speed: SRAM Eagle drivetrains often require a specific gap depending on the frame. Check the manual, but the Big-Big + 2 links rule is generally safe for most hardtails.
For full-suspension bikes, you must compress the suspension to account for "chain growth" before sizing.
Once you have identified the link that needs to be removed, double-check your count.
You can always cut more, but you cannot easily add links back without creating a weak point.
Place the chain into your chain breaker tool.
Ensure the chain is seated fully in the cradle. Turn the handle steadily to drive the pin out. Once the pin is pushed through, the excess chain will fall away.
You should now have two ends of the chain that are "inner links" (the narrow ones), ready to accept the master link.
Now, route the chain properly.
Directional Chains: Check your chain. Shimano and some other brands make "directional" chains where the logos must face outward (away from the bike).
If the chain is plain on one side and has writing on the other, the writing faces you.
Take your new Master Link / Quick Link. Apply a small amount of grease to the pins. Insert one half of the link into the left end of the chain (from the back) and the other half into the right end of the chain (from the front).
Bring the two ends together and lock the pins into the slots.
To lock the link:
Before you ride, put the bike in a work stand or lift the rear wheel. Pedal by hand and shift through all the gears.
Factory grease is sticky. It is great for storage but attracts dirt on the road. I recommend wiping the outside of the new chain with a rag dampened with a little degreaser to remove the tacky exterior coating.
Then, apply a high-quality chain lube suitable for your riding conditions. Wipe off all excess lube. A chain should look dry on the outside; the lube needs to be inside the rollers.
Replacing your bicycle chain is a rite of passage for any cyclist. It connects you to the mechanics of your machine and ensures every ounce of effort you put into the pedals is translated into forward motion.
By following these steps, you ensure safety, performance, and longevity for your beloved bike. Don't wait for the snap, check your wear today.
Perfect for the new riders!
No spam. Cancel anytime.


